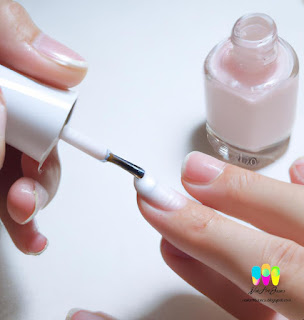
How to Do Ombre Nails: Step-by-Step Tutorial
Step 1: Gather Your Supplies
Before you start creating your ombre nails, you will need to gather the necessary supplies. Here are the items you will need:
Base coat
Two or more nail polish colors of your choice
Makeup sponge
Top coat
Cotton swabs
Nail polish remover
Step 2: Prepare Your Nails
To ensure that your ombre nails look flawless, you will need to prepare your nails. Start by removing any old nail polish using a cotton swab and nail polish remover. Next, trim and file your nails to your desired shape and length. Finally, apply a base coat to protect your nails from discoloration and to help the nail polish adhere better.
Step 3: Apply Your First Nail Polish Color
Once your base coat is dry, you can start applying your first nail polish color. Apply the color to the makeup sponge, making sure to cover the entire surface area. Then, dab the sponge onto your nails, starting at the base and moving towards the tips. Repeat this step until you achieve the desired color intensity.
Step 4: Apply Your Second Nail Polish Color
After your first nail polish color has dried, it's time to apply your second color. Apply the second color to a clean section of the makeup sponge and dab it onto the tips of your nails. Make sure to blend the two colors together using a gentle back-and-forth motion.
Step 5: Clean Up Your Nails
Once you have achieved the ombre effect, you will need to clean up any excess nail polish. Use a cotton swab dipped in nail polish remover to gently clean around your nails and remove any stray polish.
Step 6: Apply Top Coat
The final step is to apply a top coat to seal and protect your ombre nails. Wait for your nails to dry completely before applying the top coat to avoid smudging or streaking.
Conclusion
Creating ombre nails is a fun and easy way to add some personality to your nails. With these simple steps and the right tools, you can create beautiful ombre nails at home. Remember to experiment with different color combinations and techniques to find the perfect look for you.


No comments: